
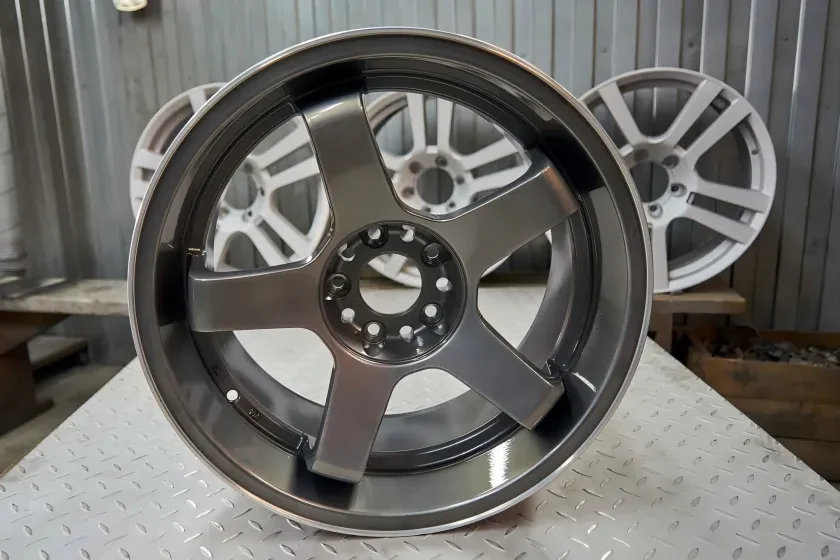
Is your car starting to sound like an unexpected percussion ensemble, with rhythmic clunks and vibrations that crescendo as you drive? It might be time to take a closer look at what’s happening behind the scenes—specifically, at the wheel hub. Often overlooked until it becomes an issue, the wheel hub is a critical component that connects your wheels to the steering knuckles, playing a pivotal role in ensuring smooth driving and steady handling. A malfunctioning wheel hub can lead to more severe problems down the line, making wheel hub replacement not just a necessity but a priority.
Diving into the world of automotive repair can feel daunting, especially if you envision complicated tools and mechanical jargon. However, mastering wheel hub replacement is more achievable than you might think. This guide will walk you through comprehensive yet straightforward tips to make your repair process as smooth as possible. Bid farewell to those mysterious noises and enjoy the peace of mind that comes from understanding and addressing this crucial aspect of vehicle maintenance.

Signs of a Failing Wheel Hub: Recognizing Common Symptoms
One of the most unmistakable signs of a failing wheel hub is unusual noise. As the bearing inside the hub wears out, you’ll often hear a grinding, humming, or growling sound that intensifies with speed or when turning the steering wheel. Another telltale symptom is vibration or wobbling felt through the steering wheel or the vehicle floor. This occurs because a damaged hub no longer holds the wheel assembly tightly, causing it to shake against the knuckle. You may also notice ABS warning lights if your hub assembly includes an integrated wheel speed sensor—an essential feature for modern safety systems.
Aside from auditory and tactile cues, handling changes signal an impending hub failure. The vehicle may feel less stable in corners or exhibit uneven tire wear, indicating misalignment due to hub play. You might even detect slight movement if you grasp the tire at the 12 and 6 o’clock positions and rock it back and forth. Ignoring these symptoms only worsens the damage, leading to more extensive repairs down the road. Addressing these early warning signs promptly and scheduling a wheel hub replacement can save you time, money, and the risk of being stranded on the roadside.
Step-by-Step Guide to Wheel Hub Removal
Begin your wheel hub replacement project by preparing your workspace and gathering the necessary tools: jack stands, a hydraulic jack, lug wrench, socket set, breaker bar, pliers, and penetrating oil. Park your vehicle on a flat surface, apply the parking brake, and loosely break lug nuts before lifting the car. Once elevated and securely supported on jack stands, remove the wheel to expose the brake assembly. Next, detach the brake caliper and rotor—keep the caliper hung safely with a wire so you don’t stress the brake line. Applying penetrating oil to the hub retaining bolts will ease their removal and reduce the risk of rounding off bolt heads.
With the rotor out of the way, use a breaker bar or impact gun to remove the hub’s mounting bolts. These bolts often sit behind or within recesses—take your time to access each one. After unbolting, gently tap the old hub assembly with a rubber mallet to break it free if it’s rusted or stuck. Pull the hub straight out from the steering knuckle, being careful not to damage the surrounding components. Inspect the axle or spindle surface for scoring or corrosion; cleaning it thoroughly will ease the installation of the new wheel hub and ensure proper seating.
Inspection and Cleaning: Assessing the Wheel Hub Assembly
Once the old hub is removed, it’s crucial to inspect all mating surfaces and associated parts. Start by examining the steering knuckle bore and axle flange for rust or debris. Use a wire brush and brake cleaner to remove built-up grime that could interfere with the new hub’s fit. Check bearings, races, and seals—if you’re reusing any bearing components, ensure there’s no pitting or wear that might lead to premature failure after wheel hub replacement.
With surfaces cleaned, apply a thin layer of high-temperature grease to the bearing contact areas to prevent corrosion and facilitate smooth rotation. Inspect the axle threads and flange surface, cleaning them with a lint-free cloth. If you notice any deep corrosion or damage that can’t be cleaned, consider replacing those parts to maintain the integrity of the new installation. Proper inspection and cleaning create the foundation for a long-lasting repair, minimizing noise and vibration issues down the road.
Installing the New Wheel Hub: Best Practices and Techniques
Position the new wheel hub assembly carefully onto the axle or spindle, ensuring it mates flush with the steering knuckle. Hand-thread the mounting bolts initially to avoid cross-threading, then gradually tighten them in a star pattern to the manufacturer’s specified torque. This even tightening prevents distortion of the hub flange and promotes uniform bearing preload. Always refer to your vehicle’s service manual for the correct torque values and tightening sequence to ensure a secure and reliable assembly.
After torquing down the hub bolts, reinstall the rotor and hang the brake caliper back into place, making sure brake pads align correctly. Spin the rotor by hand to check for smooth operation without binding or noise. If everything turns freely, remount the wheel, tighten lug nuts in a crisscross sequence, and lower the vehicle. Finally, perform a road test at low speed to confirm that no vibrations, noises, or ABS warnings persist. These best practices will help guarantee your wheel hub replacement yields a smooth, safe driving experience.
Understanding the Wheel Hub: Key Functions and Components
The wheel hub is the heart of your vehicle’s wheel assembly, serving as the mounting point for the wheel itself and housing the wheel bearing that facilitates rotation. It transmits driving torque from the axle to the wheel, supports the weight of the vehicle, and endures lateral forces during cornering. Integrated into many modern hubs is an ABS tone ring or wheel speed sensor that constantly monitors wheel rotation to support anti-lock braking and stability control systems, enhancing safety in wet or slippery conditions.
Structurally, a wheel hub assembly consists of the hub flange, wheel studs, bearing pack, wheel speed sensor (when equipped), and mounting hardware. The hub flange provides the surface where the wheel bolts on, while precision-engineered bearings inside maintain a low-friction interface. Seals protect the bearing from contaminants, and pre-lubrication ensures long service life. Understanding these components and their functions helps diagnose issues effectively and underscores the importance of proper installation techniques during wheel hub replacement.
Conclusion
Mastering wheel hub replacement empowers you to tackle one of the most critical components of your vehicle’s suspension and steering system. By recognizing early warning signs, following a detailed removal and inspection process, and installing the new hub with precise torque and alignment, you protect your car from further damage and ensure a smooth ride.
With these tips and best practices, you can approach your next wheel hub replacement with confidence and skill, saving both time and money while boosting safety and performance on the road.


 English
 Русский
 Español
 Français
 Deutsch