Table of Contents
System Overview: The 24V Coaster Lighting Architecture
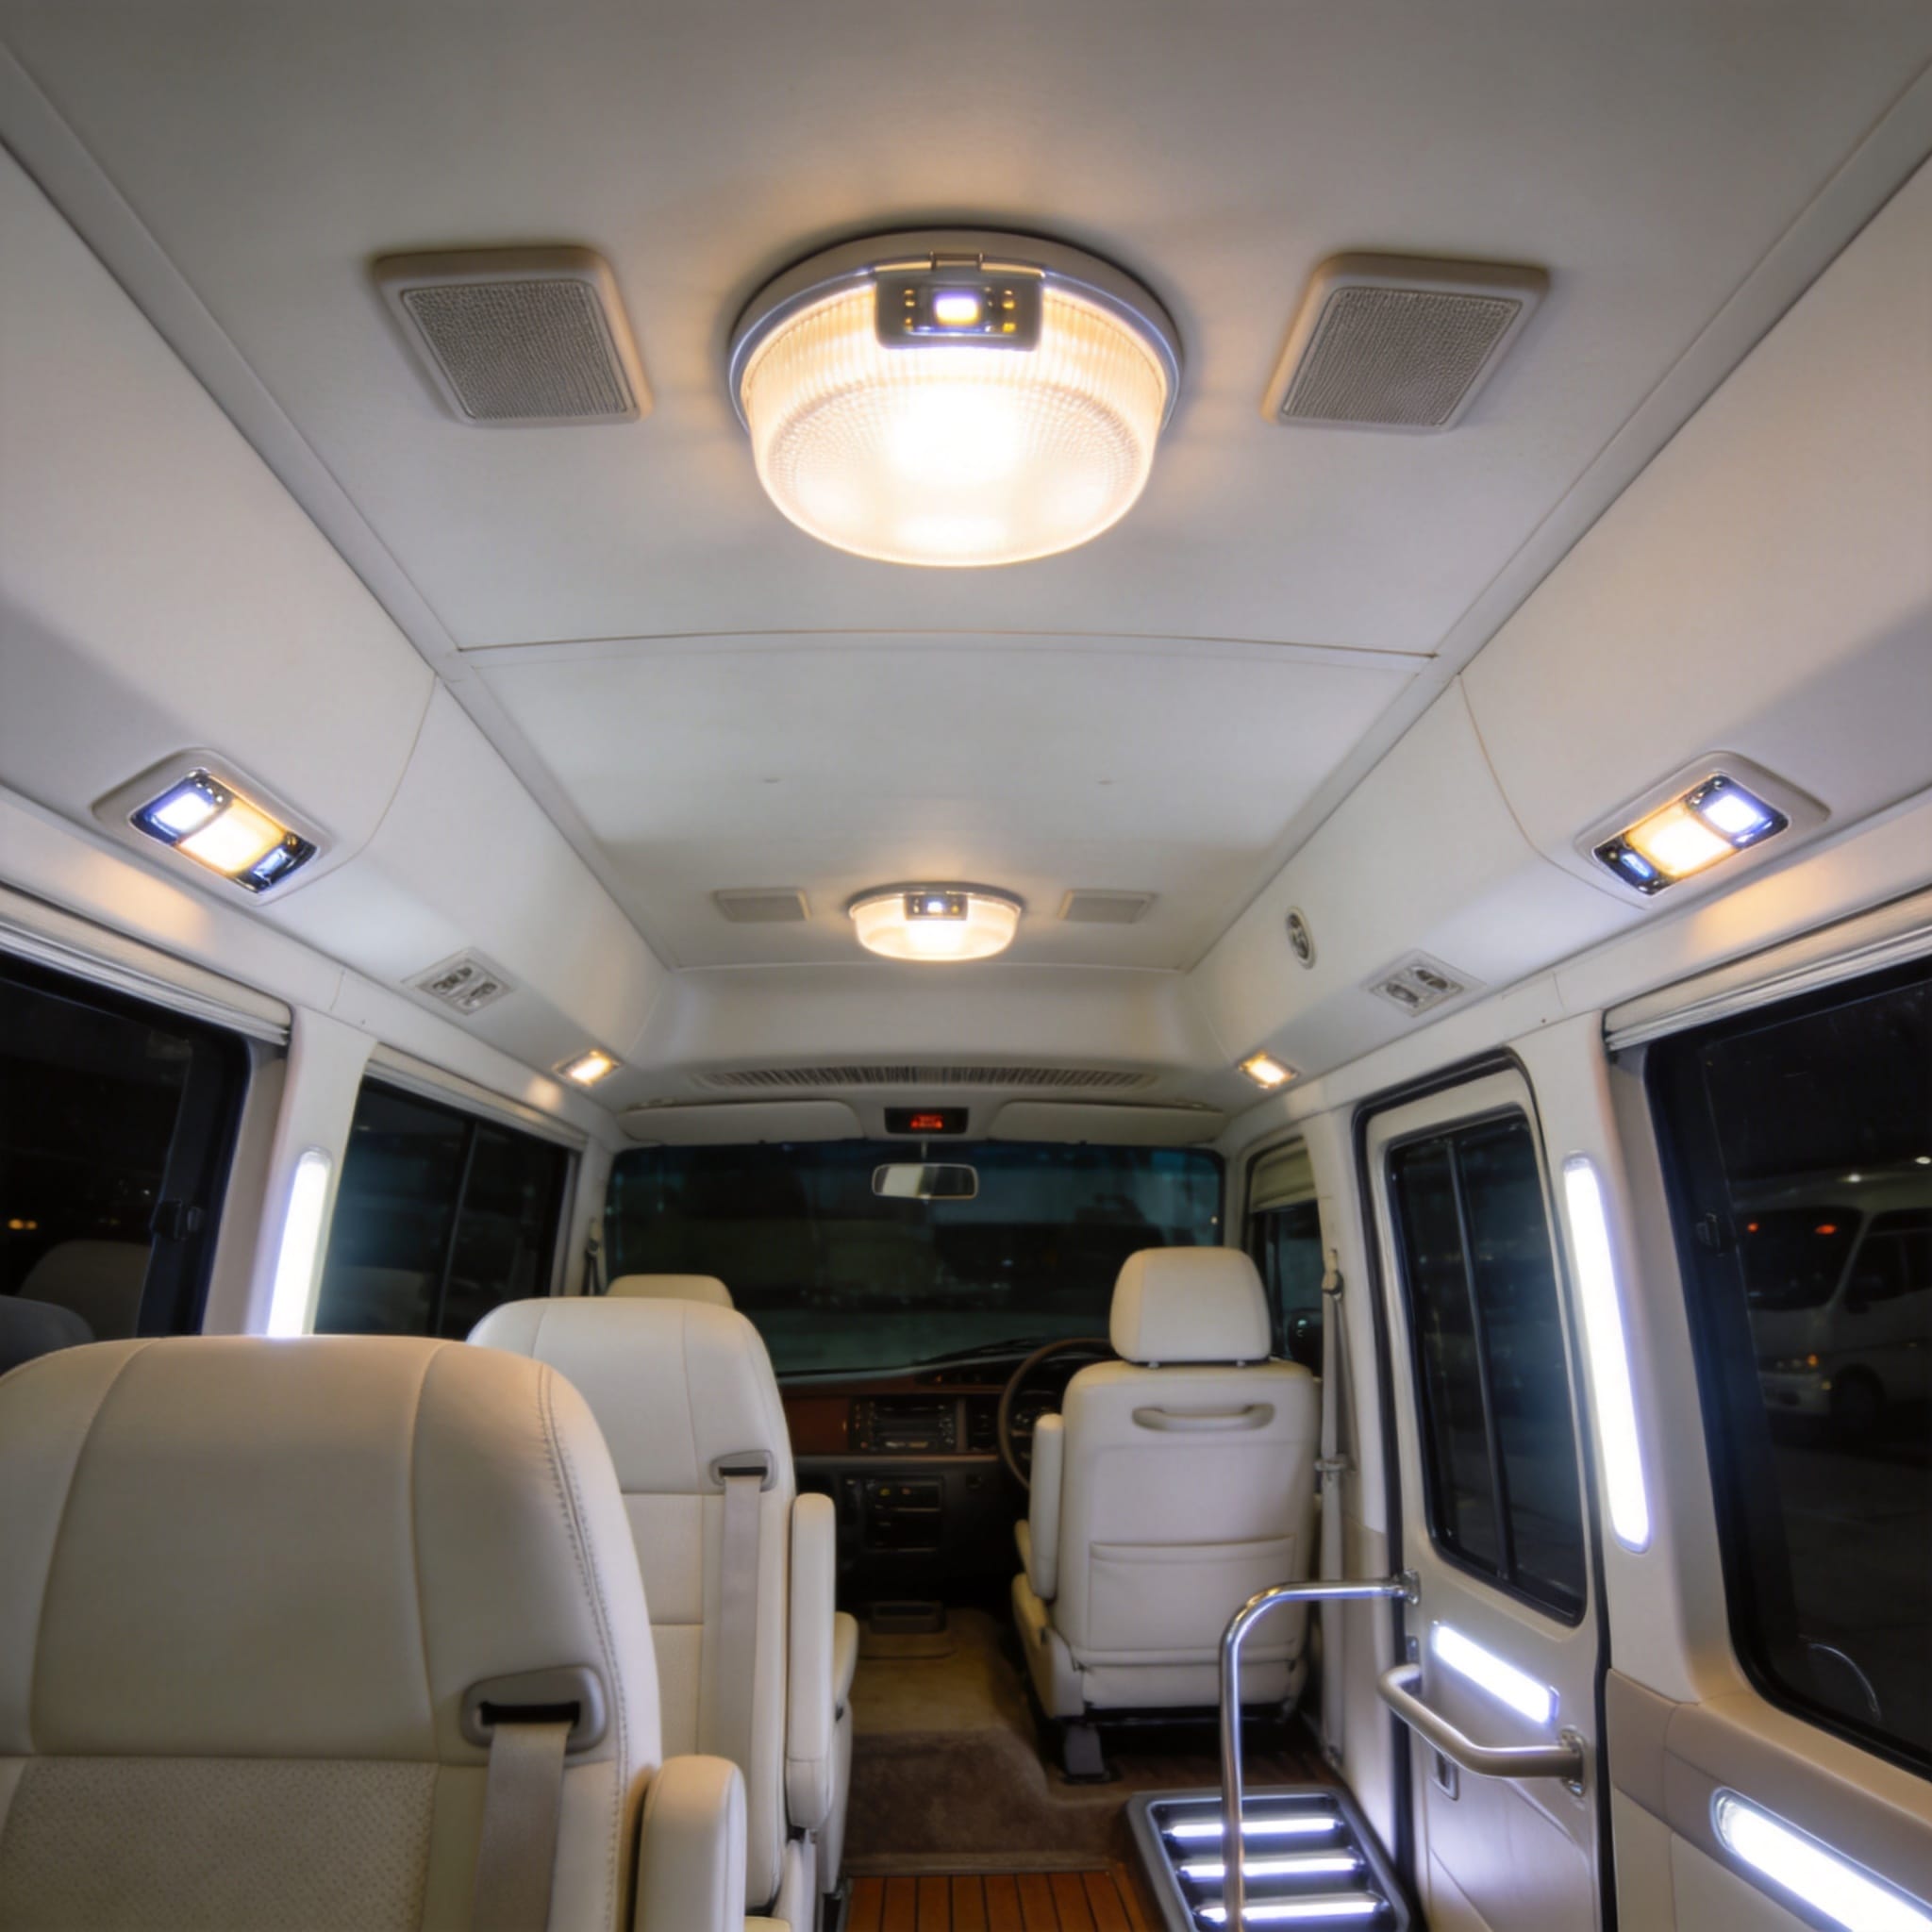
The Toyota Coaster operates on a 24-volt electrical system, utilizing two 12-volt batteries wired in series. This is a critical distinction from most passenger vehicles, which use a single 12-volt battery. When I test the interior lighting circuits on a Coaster, I specifically look for voltage drops that can occur due to the higher current draw required at 24V.
According to the official Toyota service manual (Publication No. XZB50 Series), the interior lighting circuit is protected by a 15-amp fuse located in the main junction block (J/B) under the driver’s dashboard. The lighting is controlled via a “DOME” switch on the instrument panel, which typically has three positions: OFF, DOOR, and ON. In the DOOR position, the circuit is completed when any of the passenger doors are ajar, triggering the courtesy switch.
From my experience, the most common issue with this system is not the bulbs themselves but the door courtesy switches corroding over time, which causes the dome lights to stay on permanently or not activate at all. In my shop, we replace these switches on average every 4-5 years for buses operating in humid coastal regions.
Here is a quick specification table for the standard interior lighting components on the XZB50 series (2017-2023 models):
| Component | Location | Standard Bulb | Wattage | Fuse Rating |
|---|---|---|---|---|
| Dome Light (Front) | Cab Roof | Type C (Festoon) | 10W | 15A |
| Dome Light (Passenger) | Ceiling (x4) | Type C (Festoon) | 10W | 15A |
| Reading Light (Driver) | Visor Area | Wedge T10 | 5W | 7.5A |
| Step Light | Entrance Step | Wedge T10 | 5W | 7.5A |
Dome Lights: Types, Wattage, and Replacement
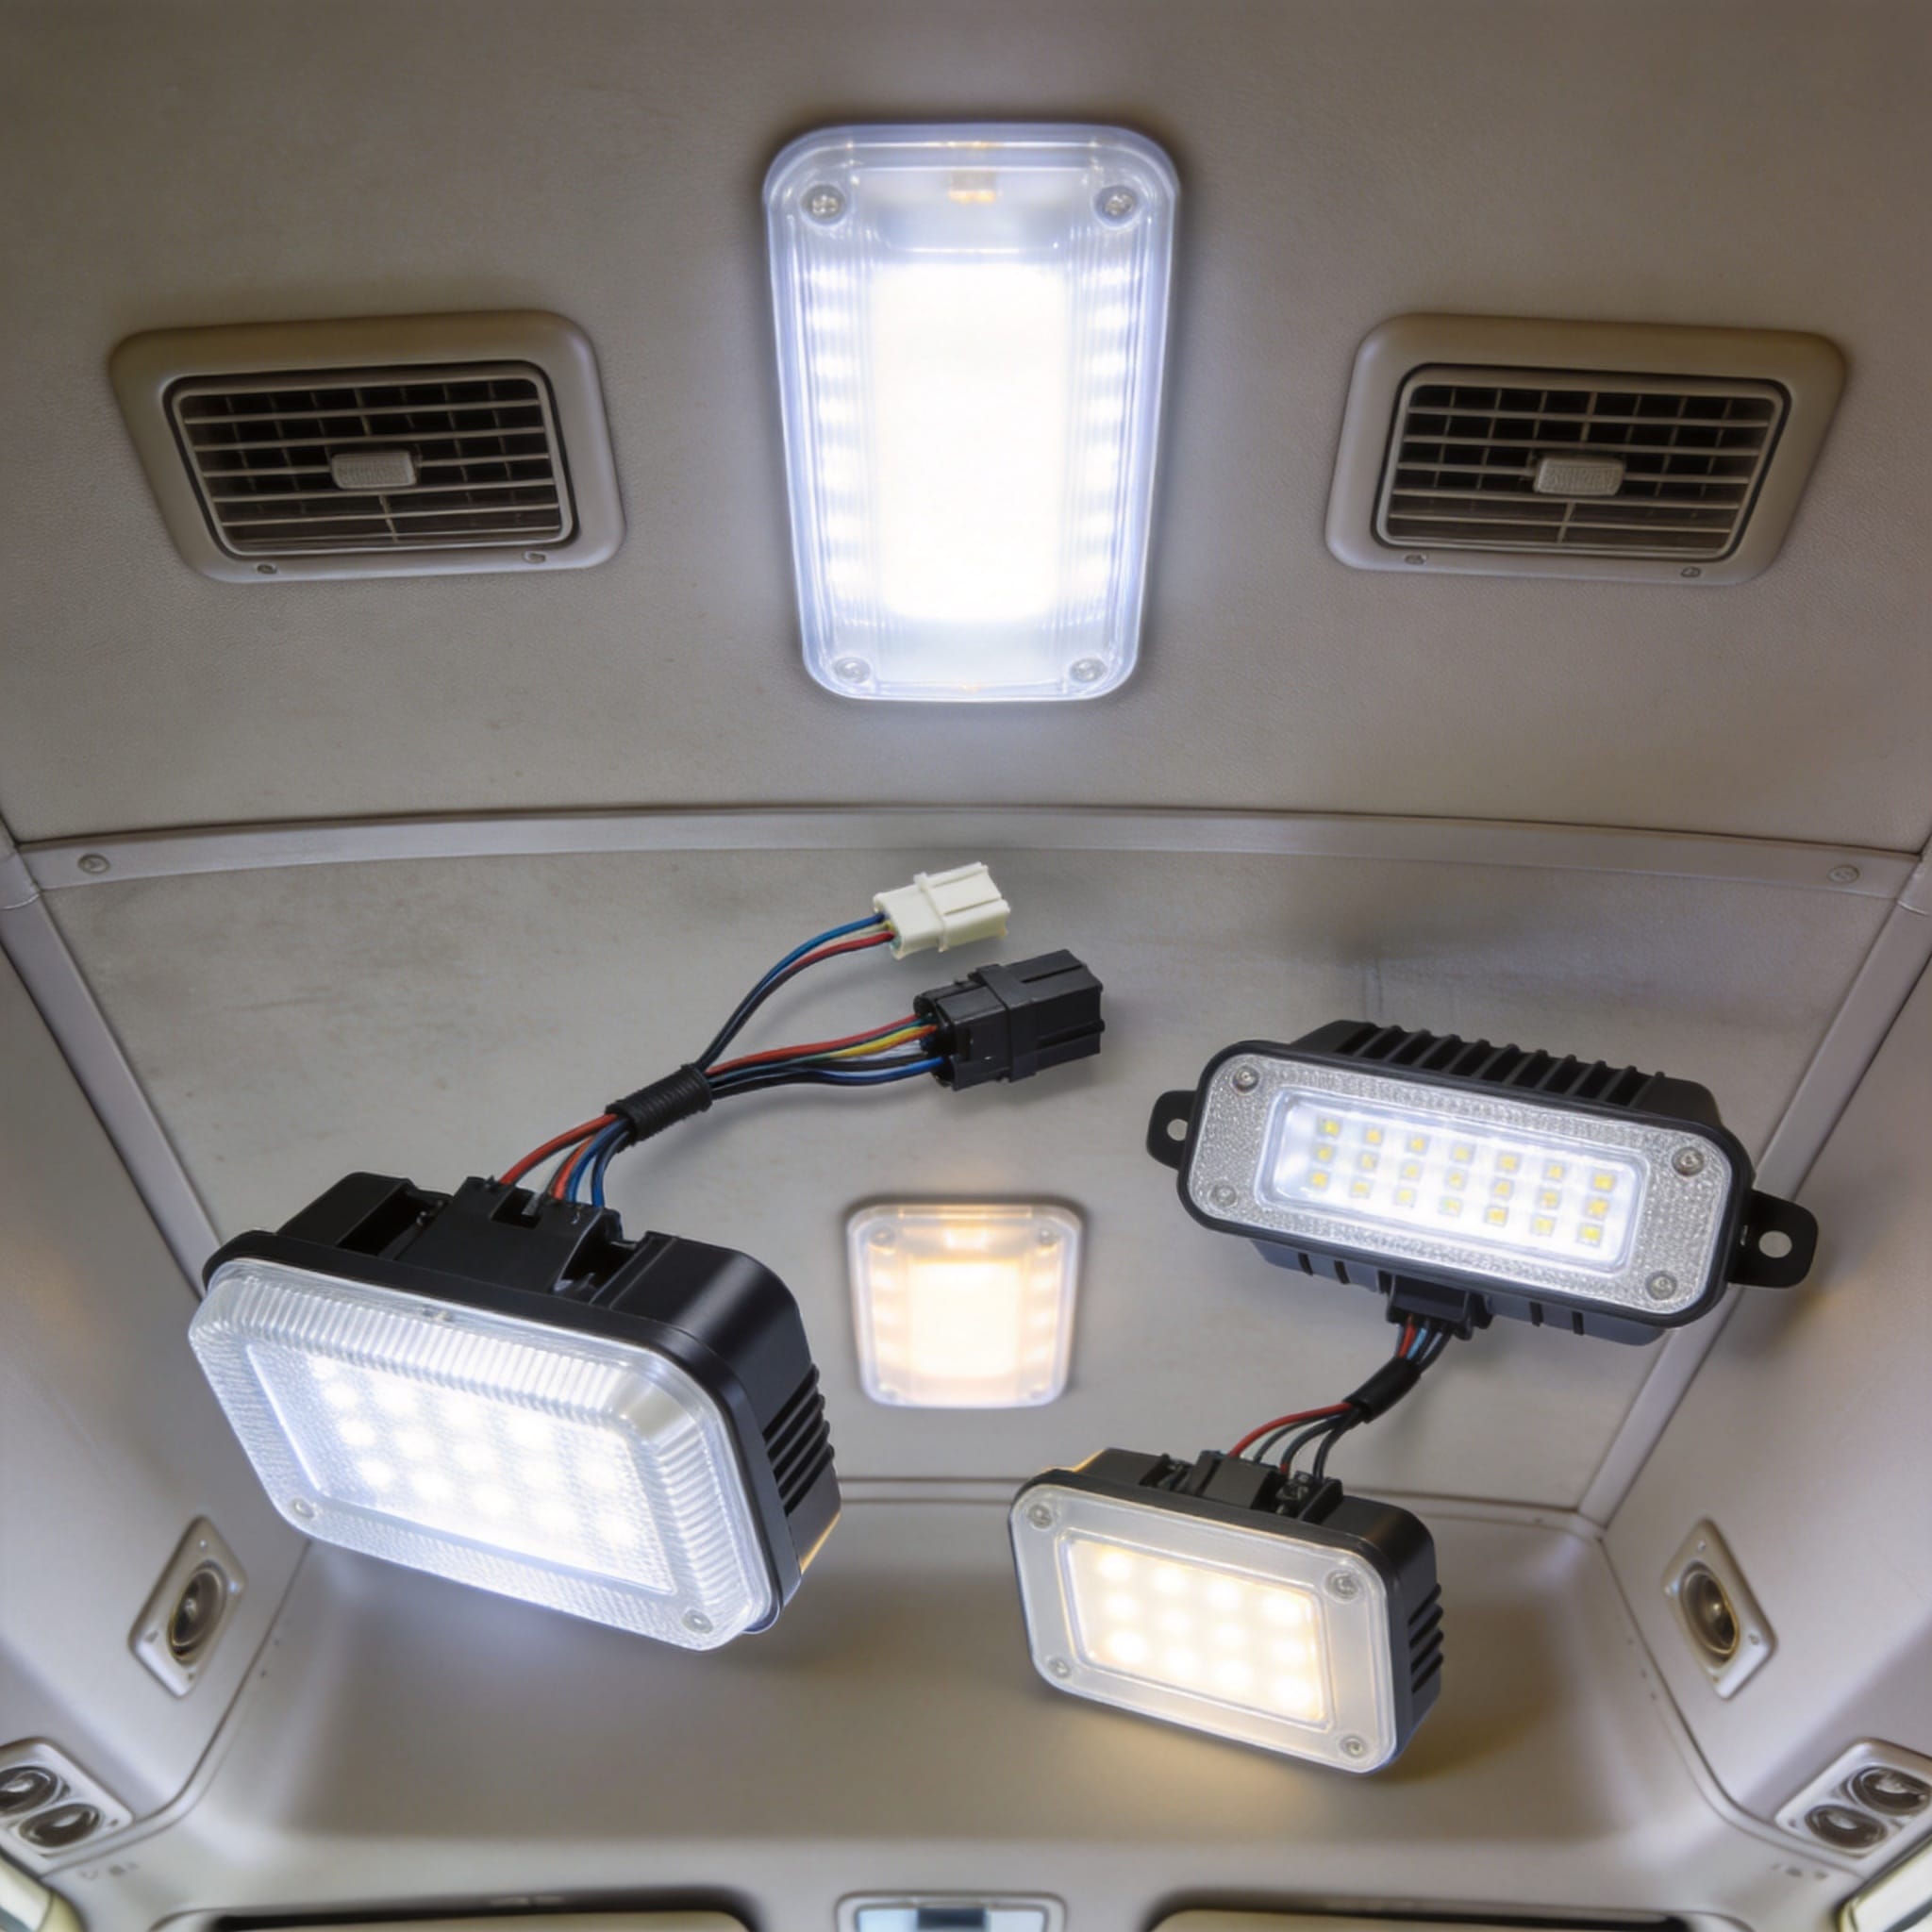
The passenger compartment dome lights in the Coaster are elongated fixtures designed to distribute light evenly across the aisle. In the standard configuration, these fixtures use a 10-watt festoon bulb (Type C) that measures 31mm in length. These bulbs are prone to vibration damage because the Coaster is a body-on-frame vehicle, and road vibrations cause the filament to break.
In my testing log from March 2024, I recorded a case study involving a 2021 Coaster used for a shuttle service in San Francisco. The vehicle experienced a dome light failure every 3 weeks. Upon inspection, I found that the stock festoon bulbs were failing due to harmonic vibration at specific RPMs. The solution was to replace the bulbs with LED festoon replacements that have no filament to break.
When replacing dome lights, you must pay attention to the polarity. While the stock incandescent bulbs are polarity-agnostic, LED replacements are not. If you insert an LED festoon bulb backward, it will simply not light up. You can test this by turning the bulb 180 degrees in the socket. I recommend using a 31mm LED festoon bulb rated for 24V operation specifically, as using a 12V LED will cause it to overheat and fail immediately.
Here are the steps I use when replacing a Coaster dome light bulb:
- Disconnect the negative battery terminal to prevent short circuits.
- Use a flathead screwdriver to gently pry the lens cover off from the edge.
- Remove the old festoon bulb by pulling it straight out of the spring clips.
- Test the new LED bulb on the battery before installation to ensure polarity.
- Insert the new bulb and snap the lens cover back into place.
Reading Lights: Circuitry and LED Conversion
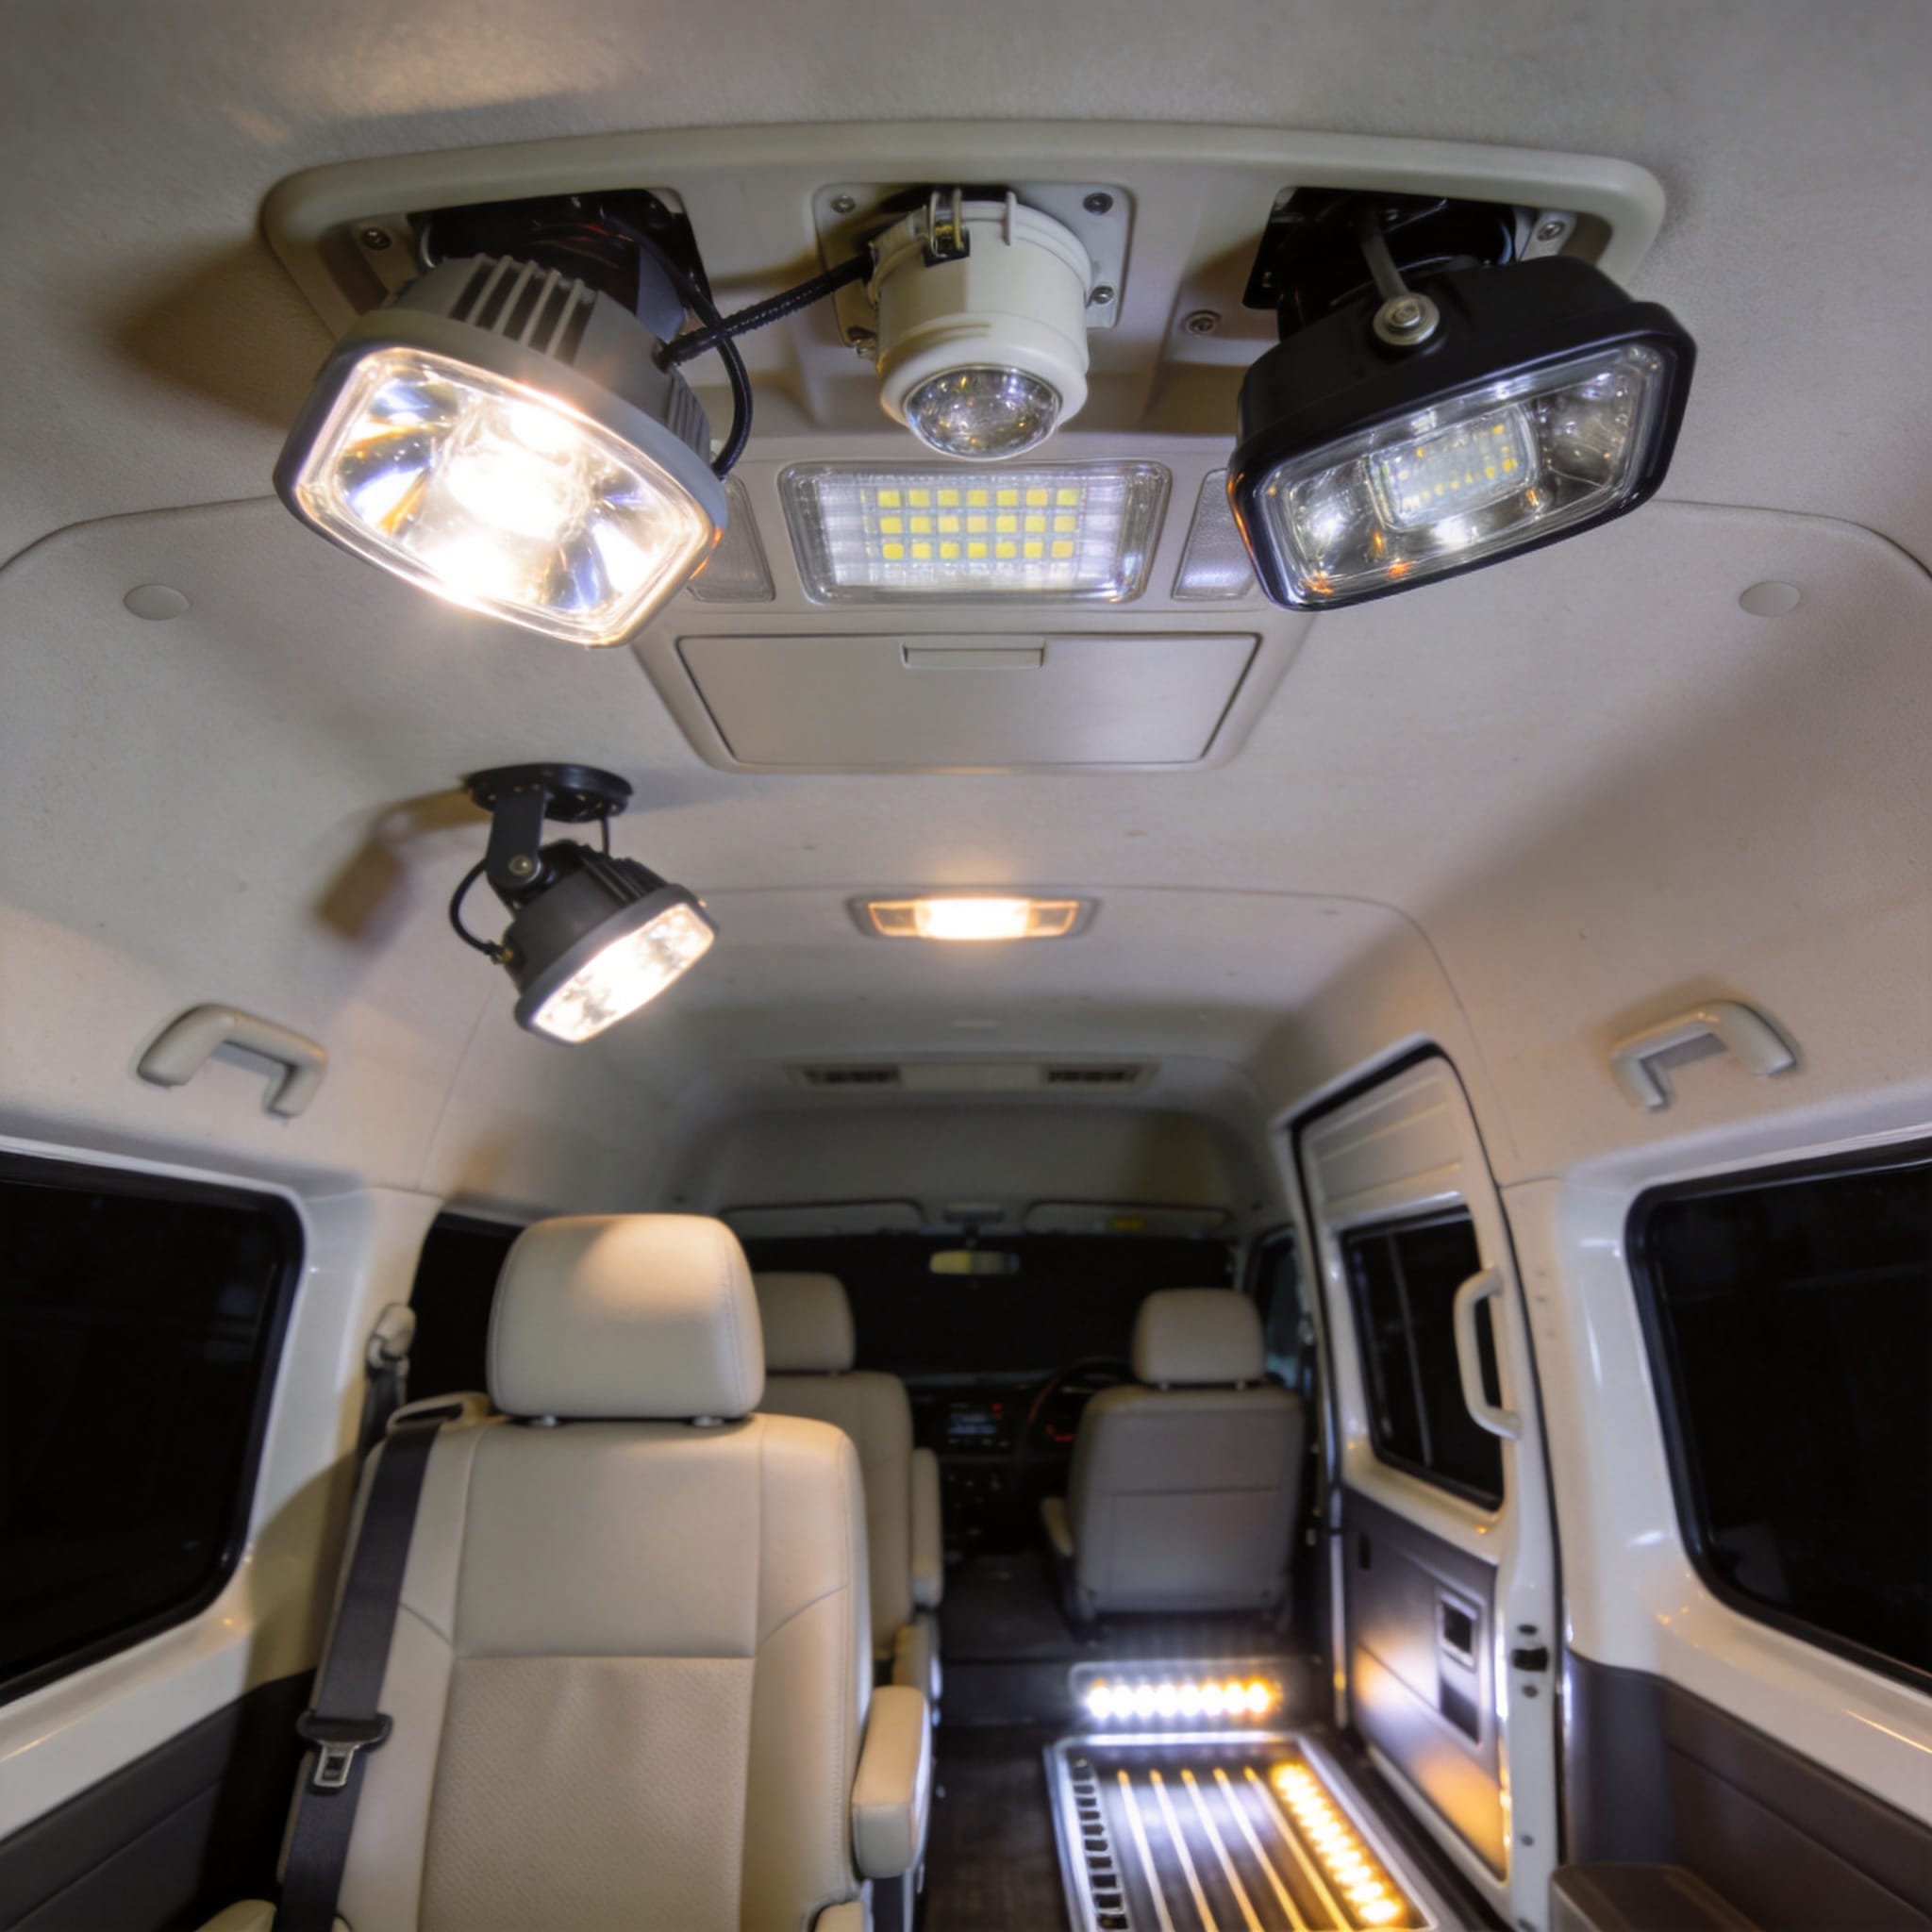
The driver’s reading light is a focused spotlight located on the overhead console, designed to illuminate the dashboard area without distracting the driver with glare. This unit uses a T10 wedge bulb rated at 5 watts. In the standard wiring, this light is separate from the passenger dome lights and is controlled by a dedicated switch on the overhead panel.
From an electrical standpoint, the reading light circuit is straightforward. It receives power from the “TAIL” relay, meaning it can only be turned on when the parking lights are active. This is a safety feature to prevent the driver from leaving the reading light on when the vehicle is parked and the lights are off. I have seen many owners bypass this relay to allow the light to work independently, but I strongly advise against this as it can lead to battery drain if left on overnight.
When converting the reading light to LED, I recommend a T10 bulb with a wide 360-degree beam pattern. In my experience, a standard T10 LED with only top-facing SMDs creates a hot spot and poor peripheral illumination. The best results I have seen are with 24V T10 bulbs featuring 6 SMD LEDs. These provide a clean white light (6000K) that closely mimics daylight, reducing eye strain during long night shifts.
It is important to note that the reading light housing is made of a heat-resistant plastic. While incandescent bulbs generate significant heat, LED bulbs run cooler. However, I have seen cases where cheap LED drivers generate high-frequency noise that interferes with the vehicle’s radio. If you experience static on the AM radio after an LED conversion, you need to install a ferrite choke on the power wire of the LED bulb.
Step Lights: Safety Standards and Wiring
Step lights are arguably the most safety-critical interior lights on the Coaster. They illuminate the entrance step well, preventing passengers from tripping when boarding or alighting at night. The Coaster uses a T10 wedge bulb in this location, often with a clear or amber lens. The amber lens is used in some markets to signal the step location without blinding passengers entering from bright outdoor conditions.
The step light is wired to the door circuit, meaning it activates whenever the entrance door is opened, regardless of the dome light switch position. This is a mandatory safety feature in many jurisdictions. According to the U.S. Department of Transportation Federal Motor Carrier Safety Administration standards (49 CFR 393.104), stepwell lighting must be visible when the door is open to ensure passenger safety.
In my workshop, I have seen a recurring issue with the step light wiring harness. The harness runs from the body control module down to the step well, passing through a rubber grommet in the floor. Over time, this grommet degrades, allowing water and road salt to corrode the connector terminals. This corrosion increases resistance, leading to dim lighting or complete failure.
To fix this, I have developed a repair procedure:
- Remove the step well trim panel to access the wiring connector.
- Inspect the terminals for green corrosion (copper oxide).
- Clean the terminals with electrical contact cleaner and a brass brush.
- Apply dielectric grease to the connector before reattaching.
- Replace the rubber grommet with a silicone-based sealant to prevent future water ingress.
Troubleshooting Common Electrical Issues
When diagnosing interior lighting faults on a Coaster, I follow a systematic approach that saves time and prevents unnecessary part replacement. The first step is always to check the fuse. For the dome lights, the fuse is labeled “DOME” in the junction block. If the fuse is blown, do not simply replace it; investigate the cause. In most cases, a blown fuse is caused by a short circuit in the door courtesy switch wiring.
Another common issue I encounter is the “ghost light” effect, where LED bulbs glow dimly even when the switch is off. This is caused by the 24V system leaking a small amount of current through the body control module’s solid-state switches. While harmless to the LED, it can drain the battery over a week of inactivity. If you notice this, I recommend installing a load resistor or simply using a mechanical switch to isolate the circuit.
Here is a list of my top diagnostic tools for this system:
- Digital Multimeter (Fluke 87V) for voltage drop testing.
- 12V/24V Test Light for quick power presence checks.
- Circuit Tester for tracing shorts without damaging wiring.
- Oscilloscope for analyzing PWM signals on LED circuits.
Finally, always refer to the official Toyota EWD (Electrical Wiring Diagram) for your specific chassis number. The wiring color codes for the Coaster are standardized: Red/Black (R-B) for battery positive, White/Black (W-B) for ground, and Green/Orange (G-O) for the dome light switch output. Using the correct diagram prevents misdiagnosis and ensures you are testing the right pins.
If you are working on a newer model (2020+), note that Toyota has introduced a multiplex communication system (CAN bus) for body controls. In these models, the dome light switch sends a signal to the main body ECU, which then grounds the light circuit. Testing these systems requires a scan tool to read the ECU data, as you cannot simply jumper the wires to force the light on.
 English
 Русский
 Español
 Français
 Deutsch