Have you ever found yourself on the side of the road, stranded due to an unexpected car issue, holding up traffic as other drivers glare at you? It’s a frustrating experience, to say the least, and one that many vehicle owners have faced. At the heart of such scenarios, often unnoticed until something goes wrong, is the humble wheel hub assembly. This crucial component of your vehicle ensures smooth and safe handling, yet it’s frequently overlooked until it’s too late. Understanding wheel hub assembly replacement can save not only your time but also your peace of mind.
The good news is that replacing your wheel hub assembly doesn’t have to induce stress-inducing headaches or hefty repair bills. By arming yourself with the right knowledge and a few essential tools, you can tackle this task with confidence. In this Ultimate Guide to Wheel Hub Assembly Replacement Without Stress, we’re going to walk you through the process step-by-step, empowering you to take control of your vehicle’s maintenance. Whether you’re a seasoned DIY enthusiast or a cautious beginner, this guide will transform what once seemed daunting into a manageable and straightforward task.
Importance of Regular Wheel Hub Maintenance
Regular maintenance of your vehicle’s wheel hub assembly plays a vital role in preserving both performance and safety on the road. This assembly contains bearings, studs, and mounting surfaces that work together to allow smooth rotation of your wheels. Over time, dirt, road salt, moisture, and normal wear can degrade these components. Ignoring routine checks and lubrication can lead to increased friction, uneven tire wear, and even brake system complications. Keeping your wheel hub assembly in top shape prevents minor issues from escalating into major repairs down the line.
Moreover, proactive maintenance can save you time, money, and most importantly, reduce the risk of roadside breakdowns. By periodically inspecting for noise, vibration, and play in the wheel, you can identify early signs of wear and address them before they compromise your vehicle’s handling. Performing simple tasks—such as cleaning mounting surfaces, greasing bearings (if applicable), and torquing wheel nuts correctly—ensures optimum performance. In short, dedicating a small amount of time to wheel hub maintenance not only extends the life of the assembly but also enhances your driving experience and peace of mind.
Signs of a Failing Wheel Hub Assembly
Understanding the warning signs of a failing wheel hub assembly can help you avoid unexpected breakdowns and costly repairs. One of the most common indicators is a grinding or growling noise that intensifies with speed or when turning. This sound often points to worn bearings inside the hub. Another red flag is excessive play or movement in the wheel when jacked up, suggesting internal components are no longer snug and secure.
Additional symptoms include vibration felt through the steering wheel, uneven tire wear, and even ABS warning lights triggered by faulty wheel speed sensors housed within the hub. If you experience any of these issues, consider scheduling a wheel hub assembly inspection or preparing for a wheel hub assembly replacement to maintain safety and performance.
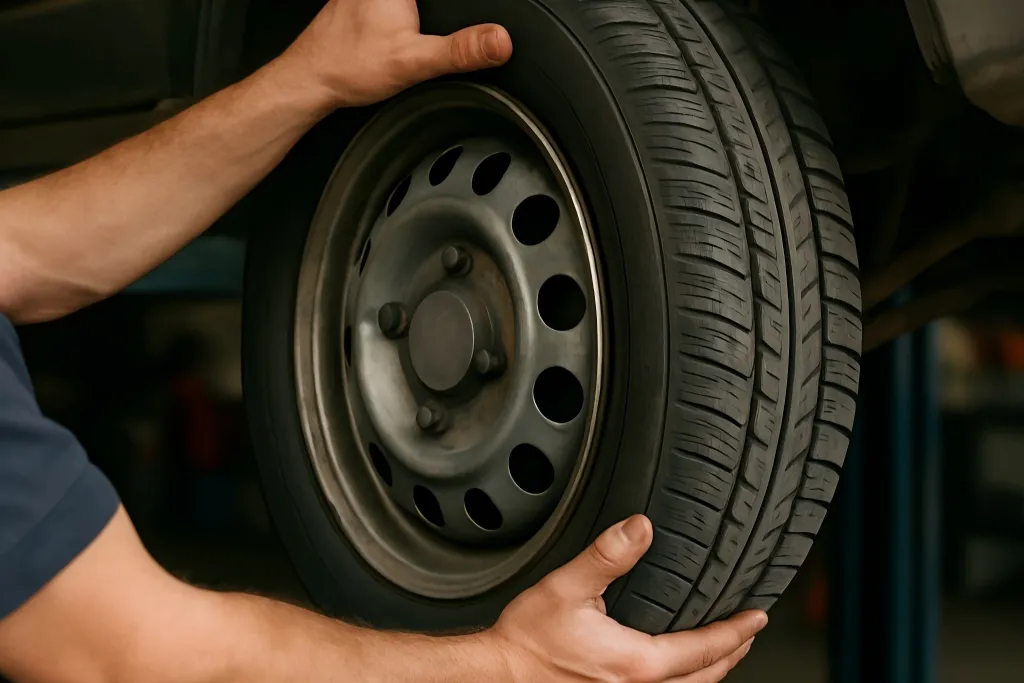
Preparing Your Vehicle for Wheel Hub Assembly Replacement
Before diving into the replacement process, ensure you have the right tools and a safe workspace. Gather essentials such as a hydraulic jack, jack stands, socket set, torque wrench, penetrating oil, and the correct replacement hub unit. Consult your vehicle’s service manual to verify torque specifications and any special procedures unique to your make and model.
Next, park on a level surface and engage the parking brake. Chock the wheels opposite to the one you’re working on to prevent rolling. Loosen lug nuts slightly while the vehicle is still on the ground, then lift with the jack and secure it with jack stands. Remove the wheel to expose the brake caliper and rotor. Taking time to organize removed parts and label bolts will streamline reassembly. With your workspace tidy and tools at the ready, you’re set for a smoother wheel hub assembly replacement.
Step-by-Step Guide to Removing the Old Wheel Hub Assembly
With the vehicle safely supported, start by removing the brake caliper and rotor to access the hub assembly. Use a socket and breaker bar to remove caliper bolts, then hang the caliper out of the way without stressing the brake line. Slide off the rotor and inspect its condition for signs of scoring or warping.
Next, locate the wheel hub’s mounting bolts on the back side of the knuckle. Applying penetrating oil can help loosen stubborn fasteners. Use a breaker bar to remove these bolts, holding the hub steady if necessary. Once the bolts are out, gently tap the old hub assembly with a rubber mallet to break it free from the knuckle. Watch for any clips or sensor wires attached to the assembly and disconnect them carefully. With the old hub removed, clean the mounting surface thoroughly, removing rust and debris before fitting the new hub assembly into place.
Testing Your Vehicle After Wheel Hub Assembly Replacement
After installing the new wheel hub assembly and reassembling the rotor, caliper, and wheel, lower the vehicle gently back to the ground. Torque the lug nuts to the manufacturer’s specification in a star pattern to ensure even seating. Before hitting the road, perform a quick brake pedal test—press firmly to confirm caliper engagement and rotor alignment.
Take your vehicle for a slow test drive in a safe area, paying attention to any unusual noises or vibrations. Gradually increase speed and execute gentle turns to verify smooth wheel rotation. If the new assembly is correctly installed, you should notice immediate improvement in steering response and ride quality. A final inspection of lug nut torque and visual check for leaks or loose components will confirm that your wheel hub assembly replacement was a success.
Conclusion: Taking Charge of Your Vehicle’s Maintenance
Replacing your wheel hub assembly may seem daunting at first, but with careful preparation, the right tools, and this step-by-step guide, you can complete the job confidently. Regular wheel hub assembly maintenance and timely replacement of worn components not only ensures a smoother ride but also enhances your vehicle’s safety.
Embrace these DIY strategies to take control of your car’s care—your future self (and wallet) will thank you for the effort.