Replacing a car bumper might initially seem daunting, but with the right guidance and preparation, it becomes a manageable task. Whether you’re dealing with a small dent from a minor fender bender or extensive damage from a major collision, understanding how to replace your car’s bumper can save you both time and money. This comprehensive guide will walk you through the process of replacing car bumpers, detailing the necessary tools, safety precautions, and step-by-step instructions for both front and rear bumper changes. By the end, you’ll be equipped to handle this task with confidence.
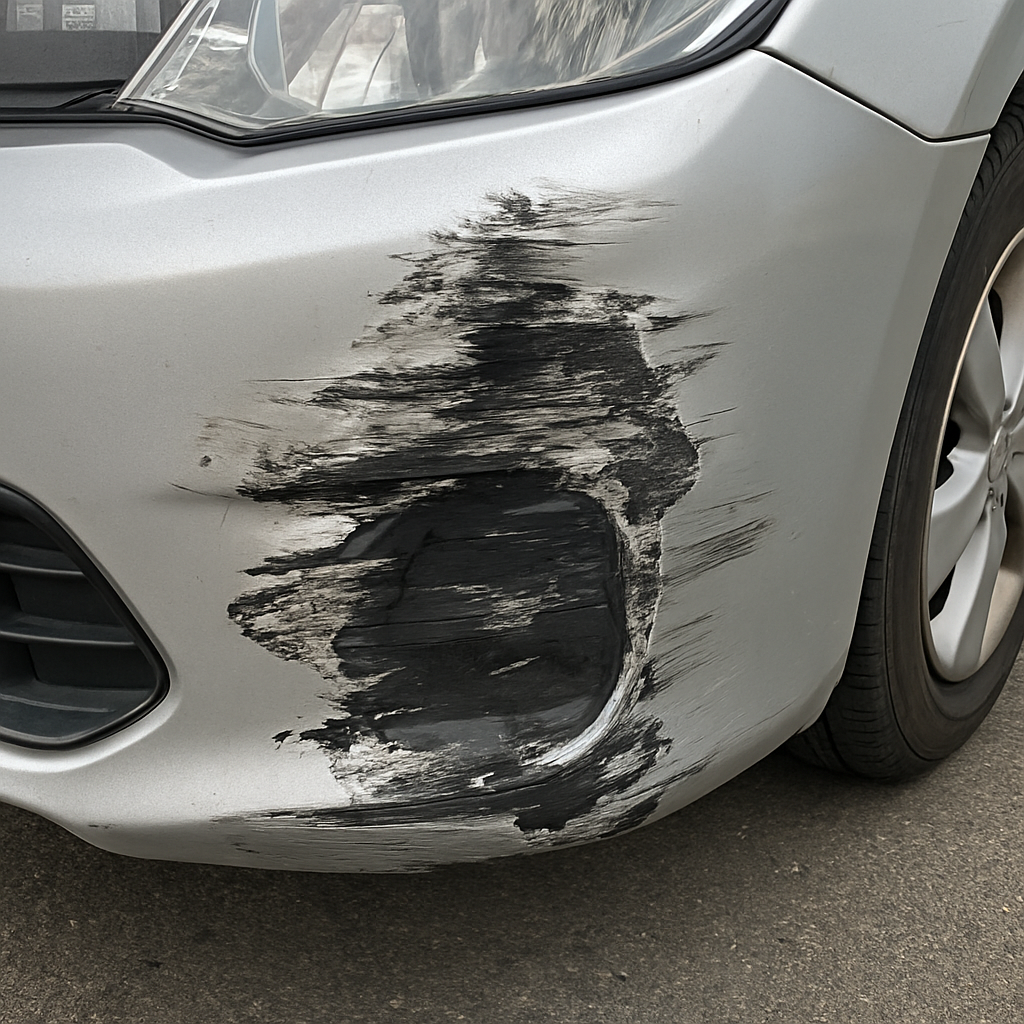
Car bumpers are more than just aesthetic features; they are crucial components of your vehicle’s safety system. Designed to absorb impact during a collision, bumpers protect the rest of the car from severe damage. This not only helps maintain the structural integrity of your vehicle but also ensures the safety of its occupants. Over time, however, bumpers can suffer from scratches, dents, or even cracks due to everyday wear and tear or unexpected accidents. Replacing them not only restores the visual appeal of your vehicle but also ensures that your car remains safe to drive, meeting both aesthetic and functional needs.
Common Reasons for Bumper Replacement
- Collision Damage: Accidents, whether minor or major, often result in damage to the bumper. Even seemingly insignificant impacts can lead to significant dents or cracks that compromise the bumper’s structural integrity.
- Wear and Tear: Constant exposure to the elements, such as sunlight, rain, and road debris, can lead to fading, scratches, and other forms of cosmetic damage. Over time, these small imperfections can accumulate, making a replacement necessary to maintain your vehicle’s appearance.
- Improved Aesthetics: A new bumper can drastically enhance the overall appearance of your car, giving it a fresh and well-maintained look. This is particularly important if you plan to sell your vehicle, as a well-maintained exterior can significantly boost its resale value.
Tools You’ll Need for Auto Bumper Installation
Before you begin the process of replacing a bumper, it’s crucial to gather all necessary tools and equipment. Having the right tools at your disposal not only makes the job more efficient but also helps you avoid potential mishaps.
Basic Tools Required
- Socket Set: Essential for removing and securing bolts during the bumper replacement process.
- Screwdrivers (flathead and Phillips): Used for removing various screws found in the bumper and other components.
- Plastic Trim Removal Tools: Designed to safely remove trim pieces without damaging them or the surrounding paint.
- Torque Wrench: Ensures that bolts are tightened to the manufacturer’s specifications, maintaining safety and integrity.
- Jack and Jack Stands: Necessary for lifting the vehicle to provide better access to the bumper area.
- Panel Clips: Handy for securing the bumper and other panels back into place once the replacement is complete.
Safety Gear

Safety should always be a priority when undertaking any car repair or maintenance task. Ensure you have the proper safety gear to protect yourself throughout the process.
- Safety Goggles: Protect your eyes from debris, dust, and any chemicals used during the replacement.
- Work Gloves: Provide grip and protect your hands from sharp edges and hot surfaces.
- Protective Clothing: Wear clothes that cover your skin to protect against cuts, bruises, and chemical exposure.
Step-by-Step Guide to Replace the Bumpers of a Car
Replacing a bumper involves several precise steps. With patience and careful attention to detail, you can successfully undertake this task yourself. Below, we’ll explore the detailed process for replacing both front and rear bumpers.
Front Bumper Replacement
- Prepare the Vehicle: Begin by parking your car on a flat surface and securing it with the parking brake. This ensures stability throughout the process. Lift the car using a jack, and support it with jack stands to provide a safe working environment.
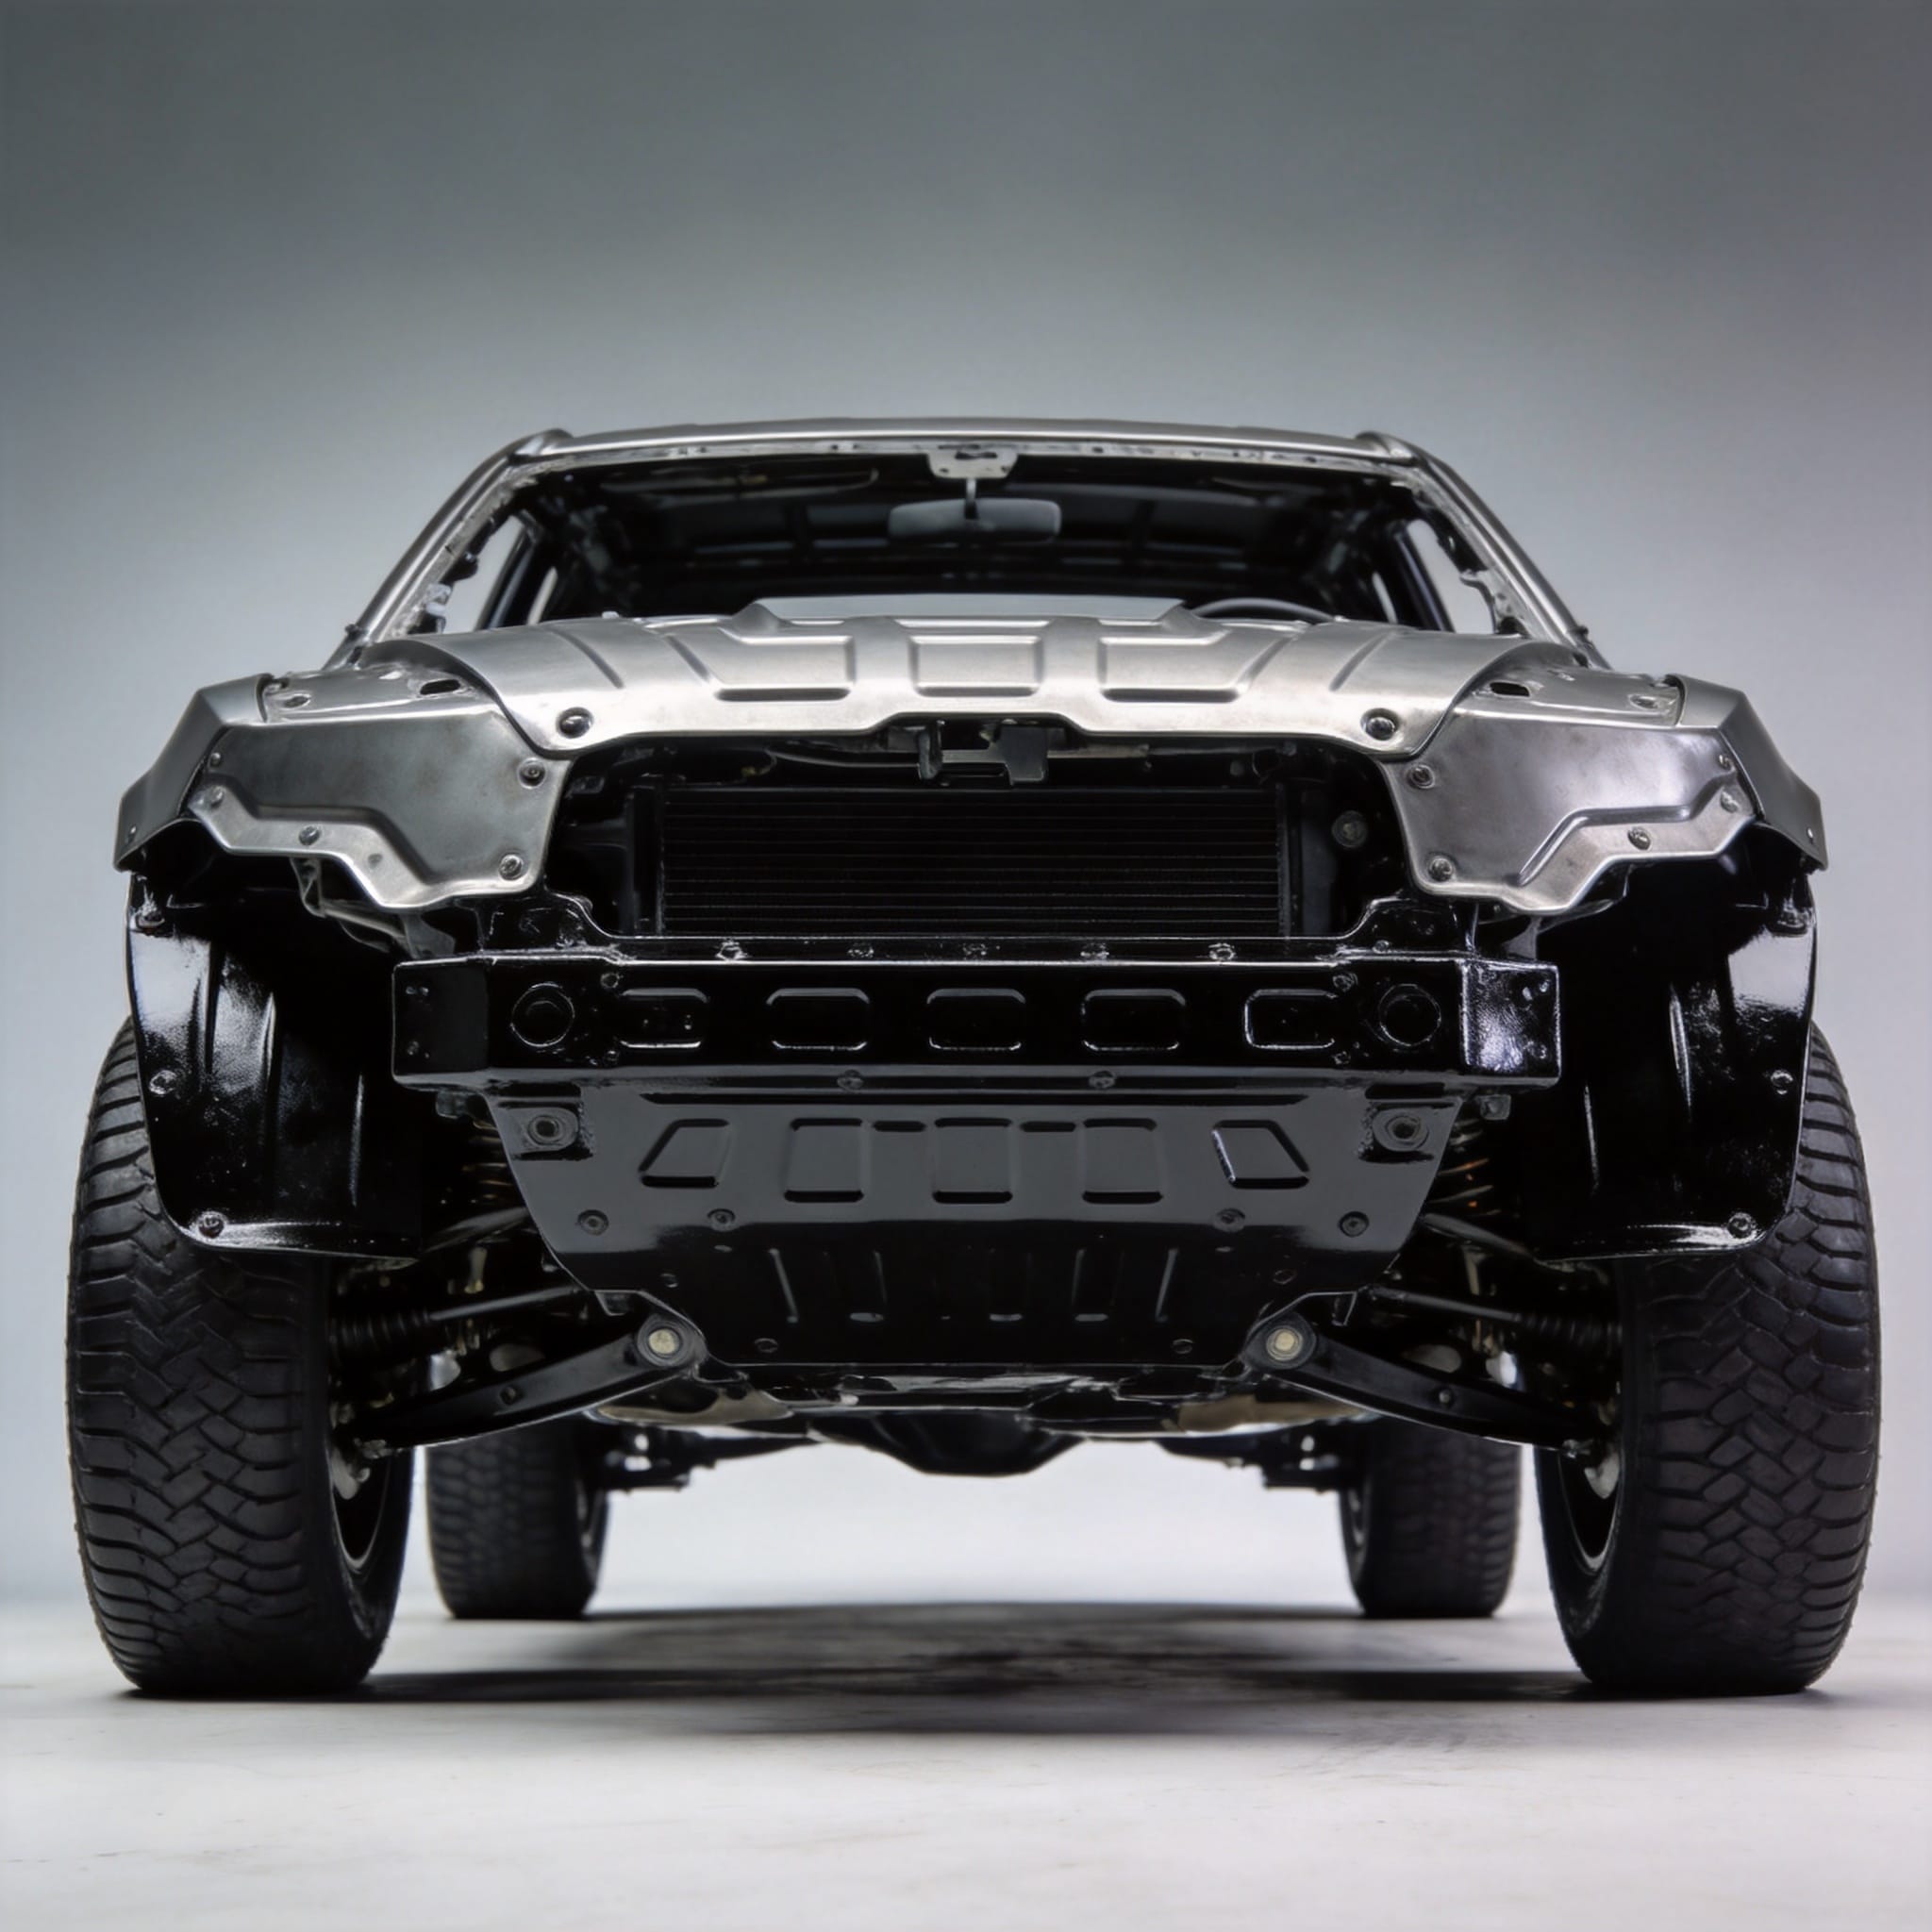
- Remove the Old Bumper: Open the hood to access the top bumper fasteners. Use a screwdriver to remove any screws and a socket set for bolts. Carefully remove any panel clips or fasteners from the wheel wells, which can be tricky. Detach the bumper by gently pulling it away from the vehicle, ensuring not to damage any attached components.
- Install the New Bumper: Align the new bumper with the mounting points on the vehicle. Secure it with screws, bolts, and clips, ensuring all attachments are tight. Reattach any lights or electrical connections carefully, as these are crucial for the functionality of your vehicle.
- Check Alignment: After installation, ensure that the bumper is aligned properly and securely fastened. A well-aligned bumper ensures optimal protection and aesthetic appeal.
Rear Bumper Replacement

- Access the Rear Bumper: Open the trunk to expose the mounting points. This may require removing the taillights for better access, depending on your vehicle model.
- Remove the Old Bumper: Unscrew and unbolt the fasteners using the appropriate tools. Carefully remove any clips holding the bumper in place, which may require some patience. Gently pull the bumper away from the car, being mindful of attached components.
- Install the New Bumper: Position the new bumper and attach it using screws, bolts, and clips, ensuring everything is secure. Reconnect any electrical components or sensors carefully, as these are often integral to modern vehicles’ safety systems.
- Final Inspection: Make sure the bumper is properly aligned and securely attached. A thorough inspection helps guarantee that all components are functioning correctly and that the bumper will perform its protective role effectively.
Tips for Successful Vehicle Bumper Repair
- Follow Manufacturer Instructions: Always refer to the vehicle’s manual for specific instructions and torque settings. This ensures that the bumper is installed according to the manufacturer’s standards, maintaining the vehicle’s safety and performance.
- Use Quality Parts: Invest in high-quality replacement parts to ensure longevity and safety. Cheap, low-quality parts may save money upfront, but can lead to more significant issues down the line.
- Take Your Time: Rushing through the process can lead to mistakes and potential safety hazards. Work methodically, and double-check your work to ensure everything is done correctly.
When to Seek Professional Help
While many people can handle a bumper replacement on their own, there are situations where professional assistance is advisable. If you’re uncomfortable with the process or if the bumper has integrated sensors or complex electronics, it’s best to consult a professional mechanic.
Signs You Might Need a Professional
- Severe Damage: Extensive damage might require specialized tools and expertise that only a professional can provide, ensuring a safe and effective repair.
- Complex Electronics: Modern vehicles often have sensors and cameras integrated into the bumpers. If you’re not familiar with these systems, professional help can prevent costly mistakes.
- Warranty Considerations: Some warranties require professional installation to remain valid. Check your vehicle’s warranty requirements before proceeding with a DIY repair.
Conclusion
Replacing car bumpers doesn’t have to be an overwhelming task. With the right tools, a bit of patience, and this guide, you can confidently tackle bumper replacement on your own. Whether you’re changing a front or rear bumper, following these steps will help ensure a successful repair. Remember, if in doubt, seeking professional help is always a wise choice. Safe driving!